Lesson 1 of 7 / HQ fundamentals
Install HQ on macOS
Download the HQ desktop app, create your local HQ workspace, open it in an AI coding tool, and begin the guided setup flow.
Begin lesson- Complete in
- 5–8 minutes
- Written path
- 9 steps
You will finish with HQ installed, the local workspace open in Claude Code or Codex, cloud sync active, and /setup running.
Recorded walkthrough
Watch the complete path.
Follow the recording once, then use the written steps below as the durable checklist. English captions are available from the player controls.
This walkthrough uses demo data and shows the complete recorded workflow. Use the written steps below as your durable checklist while you follow along.
Before You Begin
A Mac with permission to install applications.
Internet access and an HQ account, or permission to create one.
Claude Code or Codex installed. The recording follows Claude Code.
Step-by-step walkthrough
- Step 1
Download HQ for macOS
Open the HQ install page, choose the macOS download, and let the disk image finish downloading.
NavigationOpen this destinationhttps://hqforwork.com/installSelect Download for macOSExpected resultThe HQ disk image is available in your Downloads folder.

Figure 1.1 Download HQ from the macOS install page.
- Step 2
Move HQ into Applications
Open the downloaded disk image, drag HQ onto Applications, then launch HQ from the Applications folder.
NavigationOpen this destinationDrag HQ onto ApplicationsOpen Applications and launch HQExpected resultThe HQ Installer opens on your Mac.
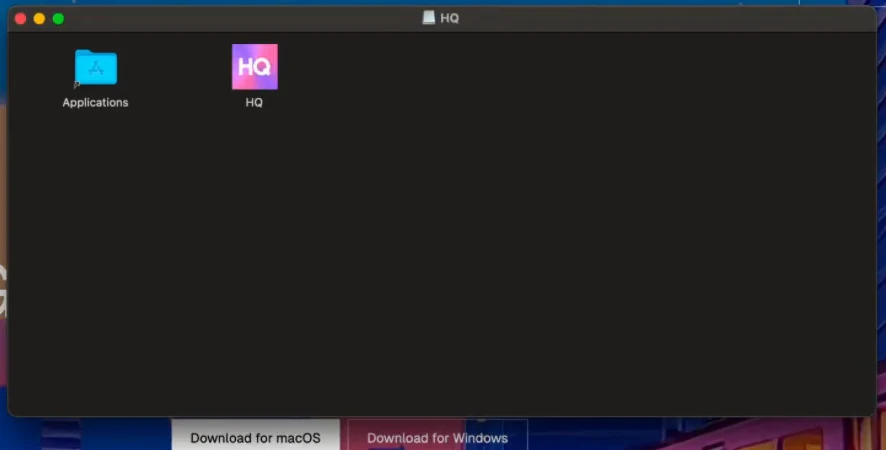
Figure 1.2 Move HQ into Applications.
- Step 3
Sign in to HQ
Choose Log in, or create an account if this is your first time using HQ. Complete authentication in the browser and return to the installer.
SelectionChoose in the interfaceChoose Log in or create an accountExpected resultThe installer recognizes your account and enables installation.
- Step 4
Choose where HQ lives
Keep the recommended workspace location unless you have a specific reason to store HQ elsewhere.
SelectionChoose in the interfaceKeep the default location, or choose another folderExpected resultThe installer has a destination for the local HQ workspace.
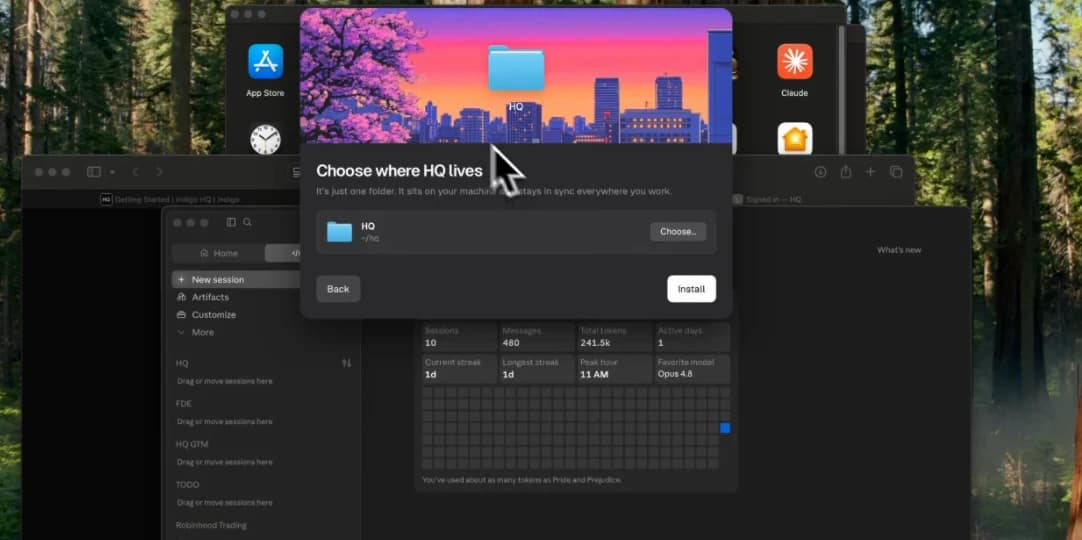
Figure 1.4 Keep the recommended HQ location or choose another folder.
- Step 5
Run the installer
Select Install and leave the installer open while it creates the workspace and supporting app files.
SelectionChoose in the interfaceSelect InstallExpected resultThe installer reaches the HQ is ready completion state.
- Step 6
Open the HQ workspace
Choose the AI coding tool you want to use. Open in Claude matches the recording; Open in Codex follows the same workspace path.
SelectionChoose in the interfaceChoose Open in Claude or Open in CodexExpected resultYour selected tool opens with the HQ directory as its working folder.
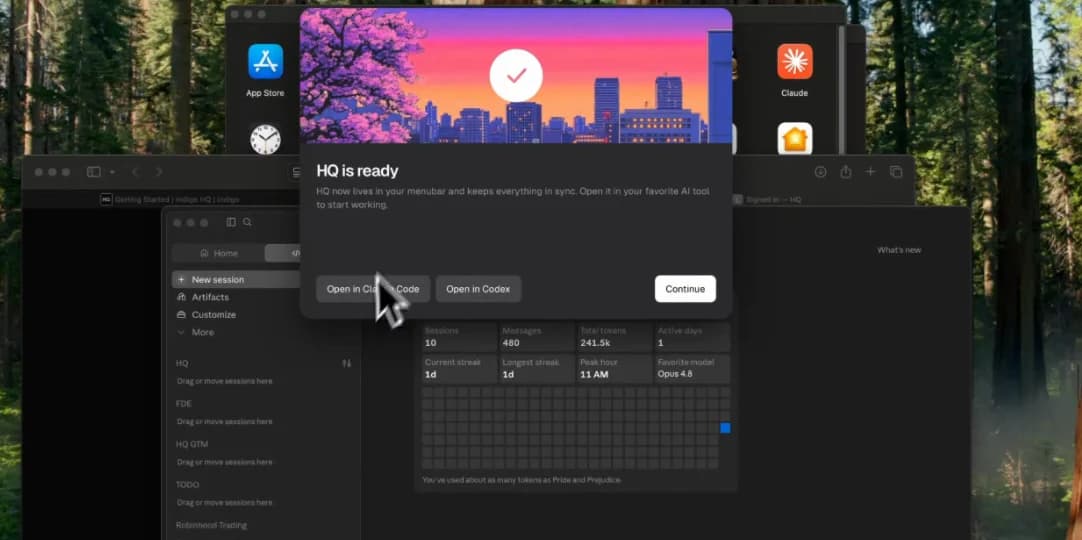
Figure 1.6 Installation is complete; open HQ in Claude or Codex.
- Step 7
Trust the workspace and start setup
Approve the workspace trust prompt, finish the tool's first-run prompts, and start HQ setup from inside the HQ directory.
CommandRun exactly as shown/setupExpected resultThe guided HQ setup interview begins in the current workspace.
- Step 8
Use HQ as your working home
Start future HQ sessions from this directory so the agent can use the context, sharing, and continuity stored there.
Expected resultNew work is created inside the HQ workspace instead of an unrelated folder.
- Step 9
Confirm sync and continue
Check the HQ menu-bar app if you want to see sync status, then return to the active setup interview.
NavigationOpen this destinationOpen the HQ menu-bar app and confirm the workspace is syncingExpected resultThe local HQ workspace is syncing and /setup is ready for your answers.
Observable finish line
You are done when this is true.
HQ shows as ready, the HQ directory is open in Claude Code or Codex, sync is active, and the /setup interview has started.